Pillar / Design Guide
Selecting a humidifier is not simply a kg/h capacity match; a significant share of post-commissioning issues stem not from device brand or model but from systematic design decisions made wrong on paper. Wrong sensor location, missing absorption distance, on/off control, skipped water analysis and BMS integration added as an afterthought, these five items are among the most frequent causes of humidity complaints in the field. This pillar guide walks through the 10 most common mistakes in industrial humidification projects, grouped under sensor placement, PID control, condensation and drain, and offers a one-paragraph CORRECT APPROACH for each.
Why Capacity Alone Is Not Enough
When a humidification calculation produces 60 kg/h, ordering "a 60 kg/h device" does not by itself yield a working system. Even with correct capacity, if the sensor sits in the wrong location the device always reads the wrong value; if absorption distance is skipped, the duct wall develops condensate; if on/off control is chosen, room RH swings around the setpoint. In short, correct capacity + wrong design = perpetual complaint.
This guide systematises the 10 typical mistakes most often seen in the field. Most can be prevented with cheap measures at the design stage, yet correcting them after commissioning costs many times more. A short checklist filled in at the design desk prevents days of on-site intervention.
Figure 1. 10 Typical Humidifier Selection Mistakes: Summary Map
Mistake #1: Only Looking at kg/h Capacity
TYPICAL ERROR: The project designer pulls a kg/h figure from a table using only design airflow and target RH; fresh-air ratio, dry-bulb temperature, humidity ratio delta, simultaneity coefficient and safety margin are crammed into a single step. CONSEQUENCE: The result clearly undershoots or overshoots actual need. Small output misses winter setpoint; large output cycles on/off at low load and the RH band widens.
CORRECT APPROACH: A proper humidification capacity calculation uses outdoor airflow m³/h, winter design temperature, winter design humidity ratio, indoor target RH and indoor target T via absolute-humidity-difference: Q (kg/h) = ρ × V × (x_in − x_out) (x in kg/kg). Add a 15–25% safety margin (20% in practice); a margin above 50% is oversizing. Pick a device that covers the demand within a wide modulation range.
Mistake #2: Water Analysis Is Skipped
TYPICAL ERROR: Under the assumption "we'll use city water, it'll be fine", device technology is chosen without measurements of hardness, conductivity, chloride, silica, alkalinity and TDS. CONSEQUENCE: An electrode unit on an RO/DI line will not run; hard mains water shortens cylinder life in an electrode unit; high-silica well water increases maintenance load via scaling and foaming for both technologies.
CORRECT APPROACH: Before the purchase decision, measure at least six parameters at a certified lab, conductivity (μS/cm), hardness (°fH), TDS (mg/L), chloride, silica, alkalinity. For sensitive sites add pH. For adiabatic atomisation systems, RO water or deionised water is recommended for hygiene.
Mistake #3: Skipping Absorption Distance
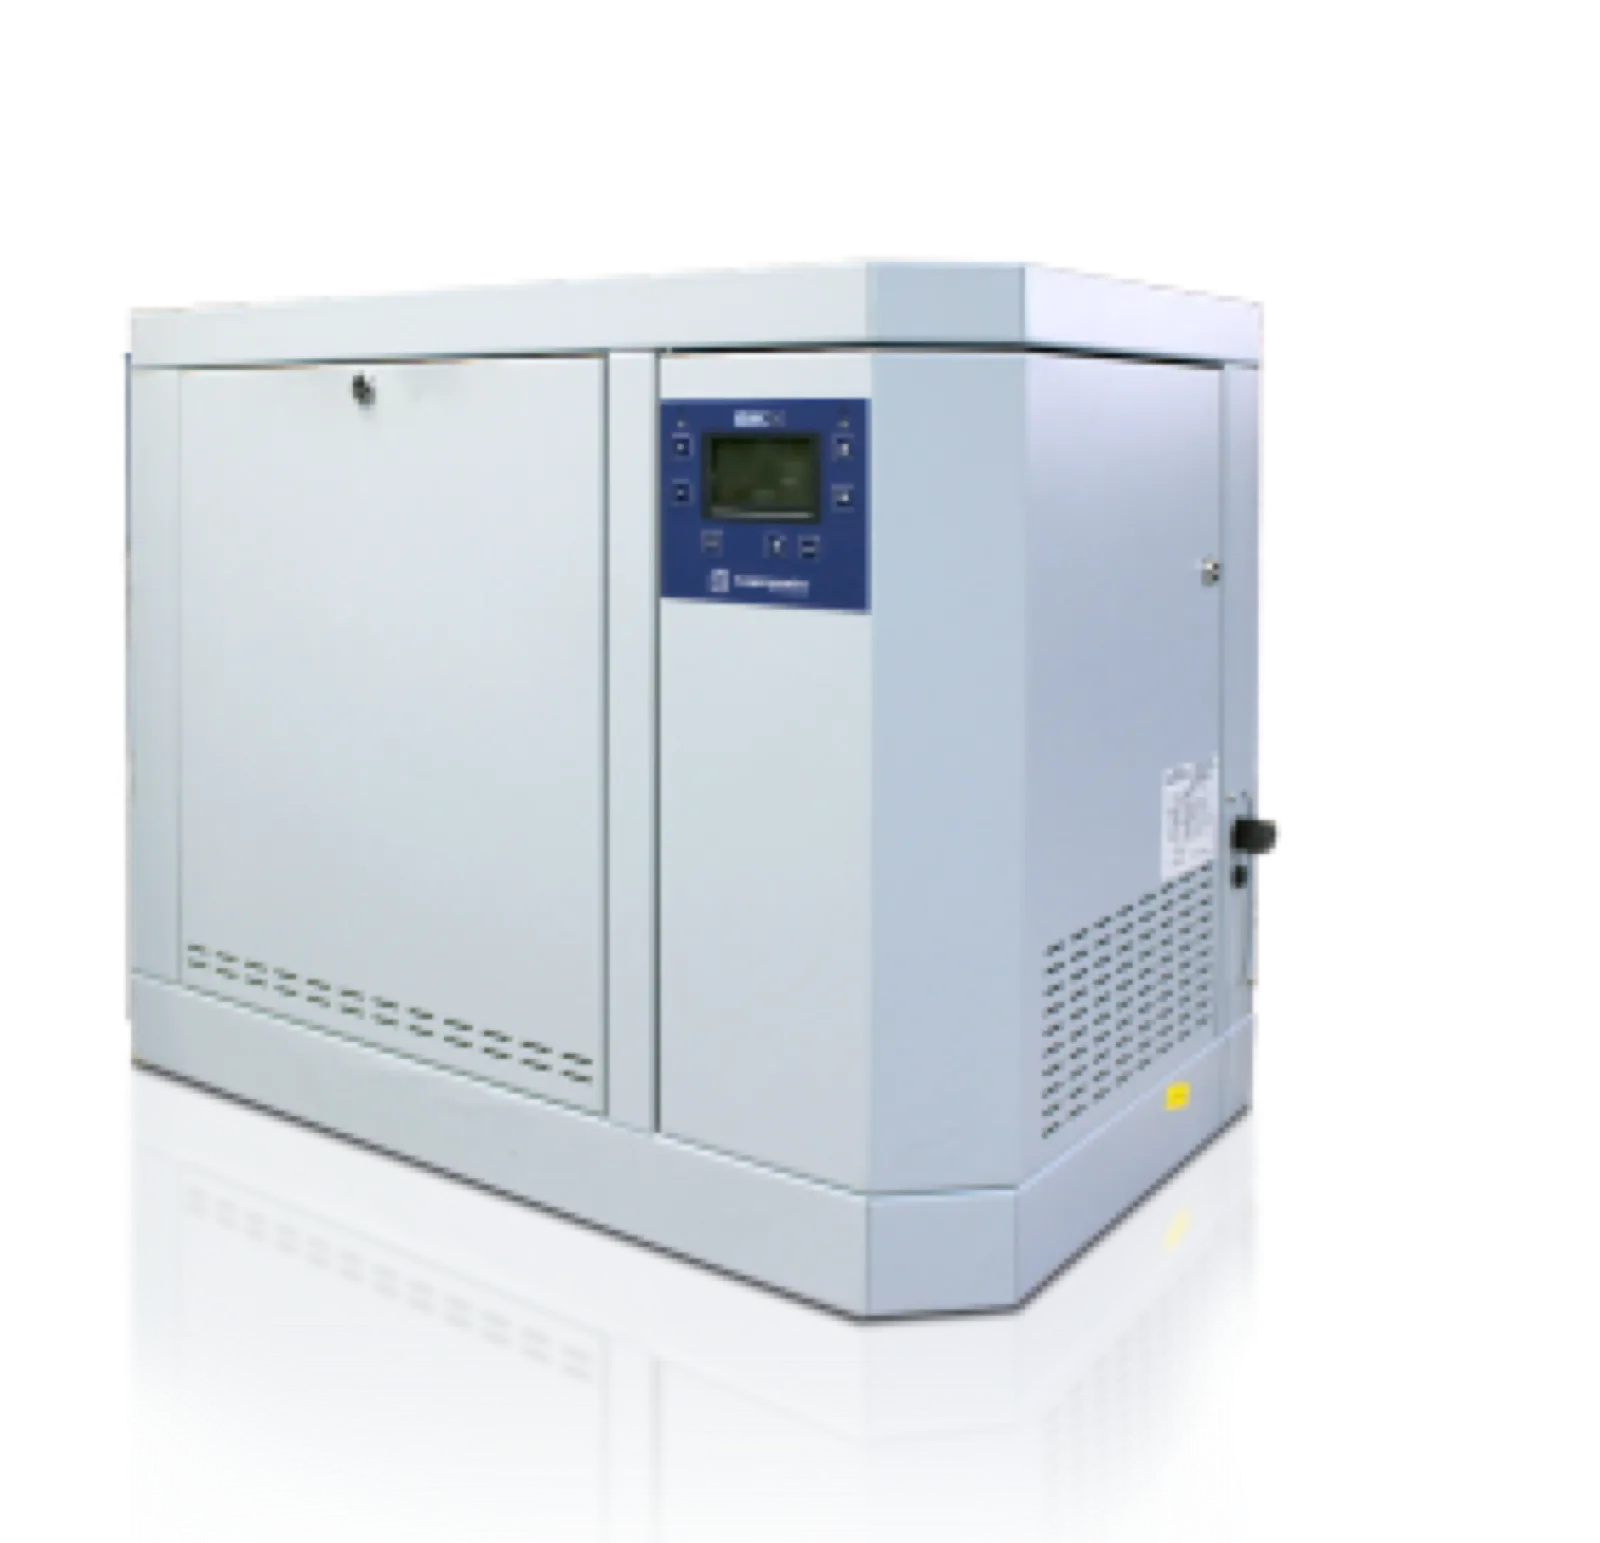
TYPICAL ERROR: The steam manifold is mounted in the duct but the required downstream clearance is not specified in the project; the first elbow is 80 cm away, a heating coil at 1.2 m, a filter at 1.5 m. CONSEQUENCE: Steam condenses onto the nozzle and filter surfaces, causing dripping, corrosion, filter-media degradation and microbiological growth.
CORRECT APPROACH: The unobstructed distance required downstream of the steam manifold is defined in the design. It depends on inlet and outlet RH, air temperature, duct velocity and dispersion type, and is read from the manufacturer's absorption table. Typically 1–2 m; 0.5–4 m depending on conditions. In large duct cross-sections, Multi-Steam multiple dispersion tubes shorten the distance.
Mistake #4: Duct Velocity Is Ignored
TYPICAL ERROR: Duct velocity sits at very low values; steam does not spread evenly across the section and condensate from local saturation collects on the duct floor. CONSEQUENCE: Wall dripping, corrosion, duct-gasket leaks, filter degradation. At high velocity (>8 m/s) steam droplets pass elbows before fully evaporating, delivering wet air downstream.
CORRECT APPROACH: Duct velocity sets both absorption distance and mixing quality. At very low velocity steam does not spread evenly and stratifies; at very high velocity the plume is carried further before full absorption, and pressure drop and noise rise. Confirm the velocity range with the dispersion manufacturer's table. In large cross-sections, inject steam at the duct centre line perpendicular to airflow, using multiple dispersion tubes if needed.
| Duct Velocity | Absorption Effect | Design Action |
|---|---|---|
| Very low | Uneven distribution (stratification, local saturation) | Reduce duct or use Multi-Steam |
| Design band | Typically 1–2 m absorption (manufacturer table) | Standard dispersion tube or manifold |
| High | Plume carried further (distance lengthens) | Multiple dispersion tubes, check obstruction distance |
| Very high | Droplet carryover (wet downstream) | Reduce velocity or add droplet eliminator |
Mistake #5: Poor Drain Design
TYPICAL ERROR: The device drain is plumbed directly to the nearest floor drain; slope, air gap, siphon and hot-water-compatible piping are ignored. CONSEQUENCE: Floor-drain odour back-pressure, hot drain water deforming PVC, back-siphon reaching electronic boards (out-of-warranty failure). Legionella risk also rises without an air gap.
CORRECT APPROACH: An air gap between the device drain outlet and the open drain is mandatory; the Neptronic installation manual requires at least 25 mm, and the gap should be no less than two pipe diameters. Because drain water can leave close to boiling point, the pipe must be rated to 100 °C (Neptronic installation manual); where a lower discharge temperature is required, a drain cooler is used. Minimum 2% slope; sealed siphon and a cleanout cap on the line.
Mistake #6: Wrong Sensor Placement
TYPICAL ERROR: The RH sensor is mounted directly in front of the supply diffuser where the airstream hits it; or in the room near an exterior door, above a heat source (radiator), in a spot the sun moves over during the day. CONSEQUENCE: The device always reads wrong, in front of the diffuser it reads un-absorbed steam and reduces output; near the door it sees a setpoint deviation at every opening; above a heat source it under-reads true RH.
CORRECT APPROACH: Sensor placement logic is defined for four sensor types: room sensor (representative middle point), duct sensor (in return air), supply sensor + high-limit (after absorption), process-point sensor (right beside a critical machine). The diagram below illustrates a typical facility with all four sensor types correctly placed.
Figure 2. Sensor Placement Diagram: Room / Duct / Supply / Process
WRONG Sensor Location
- Directly in front of the supply diffuser
- Near an exterior door
- Above a radiator or window
- Too close to the ceiling (hot-air layer)
- Below 50 cm from the floor
- On a sun-exposed wall that changes over the day
RIGHT Sensor Location
- Inside wall or column representative of the room
- About 1.5 m above the floor
- Away from doors and supply air
- Away from heat and cold sources
- On a wall not exposed to direct sun
- Balanced point between supply and return
Room Sensor Placement
The room sensor reports the representative condition of the space to the PID controller. According to the Neptronic installation manual, the room sensor goes on an inside wall or column, away from supply air and from heat or cold sources. In practice about 1.5 m above the floor is used, avoiding windows and direct sun. In large spaces (e.g. over 150 m²) averaging two points gives a more accurate reading.
In sensitive spaces (GMP, hospital theatre, museum) sensor location must be documented in the validation report; periodic (annual) calibration is required. Wrong placement does not only break control, it can also invalidate quality records.
| Sensor Type | Location | Role | Typical Use |
|---|---|---|---|
| Room sensor | Inside wall/column, ≈1.5 m above floor | RH setpoint control | Comfort, office, storage |
| Duct sensor | Inside return duct | Average RH | Multi-zone shared AHU |
| Supply + High-limit | At least 4.6 m downstream of the manifold (Neptronic) | Supply RH cap + safety | Sensitive spaces, GMP |
| Process point | Beside a critical machine | Local RH control | Print, precision manufacturing |
Duct Sensor
The duct sensor sits in the return duct and represents the average room RH. For multi-zone shared AHUs it can be enough on its own; however, if inter-zone RH variation is significant, a per-zone room sensor is more accurate. Mounted perpendicular to airflow and at the duct centre line; close to a wall, stratified air gives wrong readings.
Return air is in practice room air, so a return-duct sensor reads the average humidity of the humidified space (the Neptronic installation manual recommends the return-duct sensor for this purpose). Locate it upstream of the fresh-air mixing point. Sensor selection should be 4-20 mA and BACnet/Modbus capable.
Supply Sensor and High-Limit
The high-limit sensor sits in the supply duct downstream of the humidifier, where steam is fully absorbed; the Neptronic installation manual requires it at least 4.6 m (15 ft) downstream of the dispersion manifold. Its job is to keep supply RH below a defined cap (typically 90% RH). Above this cap the humidifier is stopped independently of PID, even if room RH is still below setpoint; this prevents duct-wall condensation.
The high-limit is not just backup safety; it is by design a sub-system. If the device is oversized or PID is mistuned, the high-limit activates and makes the system error visible to the operator. In sensitive sites the high-limit should be exposed to BMS as a separate alarm point.
Process-Point Sensor
The process-point sensor is mounted beside a critical machine (offset print head, tissue sampling chamber, precision weighing booth) and controls local humidity independently of room average RH. It usually feeds a trim loop separate from the main controller for local modulation.
Example: in a print room, average RH may be 50%, but local RH in front of the press head (under hot cylinders) can drop to 35-40%; the process-point sensor catches this and boosts local steam injection. Sensor selection should be capacitive RH + dry-bulb combined type.
Average vs Local Sensor: Which One?
A single sensor (average) is enough for comfort applications; multiple sensors (average + local trim) are mandatory for sensitive processes. Decision criteria: large spaces (e.g. over 150 m²) need two sensors; if a critical machine is present add a process-point; multi-zone AHUs need a duct sensor per zone + average calculation.
As sensor count grows, calibration load grows; an annual calibration programme must be defined at the design stage. An uncalibrated sensor drifts over time, and the control then follows the drift instead of the real humidity.
Mistake #7: On/Off Control Is Selected
TYPICAL ERROR: On a budget, the device is controlled by an on/off thermostat relay; it runs at full capacity, stops when setpoint is exceeded, restarts when RH falls. CONSEQUENCE: Room RH swings around the setpoint (per Neptronic data ±5% RH with on/off control vs ±1% RH modulating); heater elements and contactors fatigue from constant cycling.
CORRECT APPROACH: Sensitive sites must use PID control. With modulation the device output follows space demand continuously. PID tuning is done on site against actual T/RH/volume; PID coefficients differ per facility.
What Is PID Control?
PID (Proportional-Integral-Derivative) is a closed-loop algorithm that simultaneously evaluates current error (P), accumulated error (I) and rate of change (D). Output: u(t) = Kp × e(t) + Ki × ∫e(t)dt + Kd × de/dt. PID is ideal for humidification because RH is both a slow-response parameter and intolerant of overshoot / undershoot.
e(t) = setpoint − measurement; u(t) = modulation output (0-100%)
In modern humidifiers the PID algorithm runs in the device's internal controller; the user only enters setpoint. PID parameters are tuned per facility; at commissioning either auto-tune or manual Ziegler-Nichols is applied.
Why Modulation Matters
Modulation is the control behaviour of adjusting device output continuously with space demand. In on/off, output is either 100% or 0%; in a modulating system, it is 10%, 40%, 75%, any value in between. This narrows the RH swing (±1% RH per Neptronic data) and keeps thermal load on heater elements and nozzles even.
Modulation range depends on device technology: resistive steam with an SSR (solid-state relay) is 0–100% continuous; electrode units are limited and stepped by water level; SKH atomisation uses a variable-speed pump. Correct device selection matches modulation needs.
When PID Is Mistuned
Wrong PID coefficients produce three typical issues: (1) Kp too high: overshoot, the system exceeds setpoint and oscillates around it; (2) Ti too short: integral wind-up, the system stops late; (3) Td too high: amplifies sensor noise, device hunts in micro-cycles continuously.
| Parameter | Example Starting Value (controller-specific) | Effect |
|---|---|---|
| Kp (proportional gain) | 5-15 | Response speed; high = overshoot, low = slow |
| Ti (integral time, s) | 120-600 | Zeroes accumulated error; too short = wind-up |
| Td (derivative time, s) | 0-30 | Anticipates change; high = noise amplification |
At commissioning, use auto-tune if available; without it, manual tuning by Ziegler-Nichols or Cohen-Coon. After three months, repeat fine-tuning from the trend log.
Mistake #8: No Maintenance Access
TYPICAL ERROR: The device is dropped into a mechanical room without considering the front clearance needed for steam tank service, drain accessibility or display visibility. The device is 5 cm from the wall, blocked by a pipe on one side, with a duct above. CONSEQUENCE: Steam tank cleaning and heater element service require removing the device; routine maintenance takes hours.
CORRECT APPROACH: Manufacturer-specified minimum clearances must be reflected in the design; the Neptronic installation manual requires at least 1.2 m at the front, 0.3 m on the left side and 0.5 m on top for the SKE4. The drain cleanout cap must be accessible; the electrical enclosure must open easily for the authorised technician.
Mistake #9: Mismatched Water Treatment
TYPICAL ERROR: RO treatment is added to the facility later, but the existing electrode humidifier loop is not changed; the electrode unit does not run on RO. Or sodium-based ion-exchange softening is installed; foaming in the electrode unit's cylinder causes continuous alarms. CONSEQUENCE: The device does not run or runs at reduced capacity; the facility eventually bypasses the RO loop.
CORRECT APPROACH: Water-treatment + humidifier technology matching is done up front. RO/DI feed → resistive steam or SKH high-pressure atomisation; softened feed → resistive steam (foaming risk in electrode units); hard mains → resistive is preferred, with regular steam tank cleaning and drain cycles set to water quality. For adiabatic atomisation, RO/DI is recommended for hygiene.
Mistake #10: BMS as an Afterthought
TYPICAL ERROR: The device is installed standalone with a fixed setpoint; BMS integration is "left for phase 2". Later, BACnet/Modbus protocol fit, alarm points, trend log and setpoint scheduling cards are added and wiring is redone. CONSEQUENCE: Extra card, wiring and recommissioning costs; certification is delayed; retrospective trend analysis is impossible.
CORRECT APPROACH: BMS integration must be discussed at the design start: protocol choice (BACnet IP or Modbus RTU), alarm points (high-limit, water level, service hours, drain failure), trend log requirements (e.g. 1-min sampling, 1-year retention), setpoint scheduling (time-based setpoint shifts). BMS compatibility is a priority criterion in the device shortlist.
WRONG: BMS Later
- Standalone setpoint, manual settings
- No defined alarm points
- No trend log, no retrospective analysis
- Phase-2 card + wiring extra cost
- Certification and approval delays
RIGHT: Integrated Design
- BACnet IP or Modbus RTU chosen up front
- Alarm points listed (8-12 items)
- Trend log 1-min sampling, 1-year retention
- Setpoint scheduling defined
- Commissioning + BMS integration concurrent
Why Condensation Forms
Condensation occurs when air exceeds the maximum moisture it can carry (saturation) or when a surface temperature drops below the air's dew point. Three typical triggers: (1) warm humid air meets a cold surface; (2) steam hits a surface before completing absorption distance; (3) insufficient air mixing pushes local conditions to saturation.
Condensation in a duct means dripping, corrosion, filter degradation and microbiological growth. System design must therefore either accept condensation or prevent it, in hygienic sites, condensation is unacceptable.
Figure 3. Condensation Triggers Diagram
Cold Surface and Dew Point
Water vapour in air condenses onto any surface whose temperature falls below the air's dew point. For 22°C, 50% RH, dew point ≈ 11.1°C; a 10°C surface will inevitably collect condensate. Duct walls, cold windows, exterior facades, AC evaporators are typical cold surfaces.
Prevention: duct insulation, thermal barriers on hot lines, sealing thermal bridges on the facade, reducing airflow on cold spots. Sensitive sites need dew-point meters + alarms.
Wrong Distribution + Short Absorption
If the steam manifold is mounted close to a duct wall rather than at the centre line, steam flow becomes asymmetric, local saturation on one side, insufficient humidification on the other. Elbows, heating coils or filters within 1 m of the nozzle outlet cause steam to hit the surface before absorption completes.
Correct design: manifold at the duct centre, perpendicular to airflow, 1-2 m unobstructed downstream. For large duct cross-sections, Multi-Steam multi-nozzle delivers shorter absorption distance.
Insufficient Air Mixing
At low duct velocity (e.g. 1 m/s) steam does not spread evenly across the section; local saturation and condensation form near the manifold while the rest of the section is under-humidified. Water vapour is lighter than air; the problem is poor mixing, not gravity. This is very common in single-tube distribution with large ducts.
Solutions: reduce duct cross-section (raise velocity), increase nozzle count with Multi-Steam, or add passive mixing vanes in the duct. To monitor mixing quality, three sensors (bottom-middle-top) can be used for verification.
Oversized Capacity
When a device is selected at twice the need, it produces too much steam even at minimum modulation; on/off cycle count rises, local oversaturation produces spot condensation and the system never reaches equilibrium. This is most common in facilities with variable load (office winter-vs-summer delta).
The right fix: add a 15–25% safety margin (20% in practice) to the calculation, and where possible run two mid-sized units in parallel (widening the modulation range). For sensitive sites, modulation range should be the first criterion in the shortlist.
Wrong Sensor + Condensation
When a sensor is wrongly placed, the device always reads wrong, actual RH 55%, sensor reads 45%, the device keeps making steam, room RH rises to 65%, local condensation forms. This is a frequent mistake in the field and an expensive one to correct.
Fix: verify sensor placement during validation, compare with a calibrated reference hygrometer; if deviation exceeds the measurement tolerance, move the sensor. In sensitive sites, sensor placement must appear in the validation report.
Steam Line Design
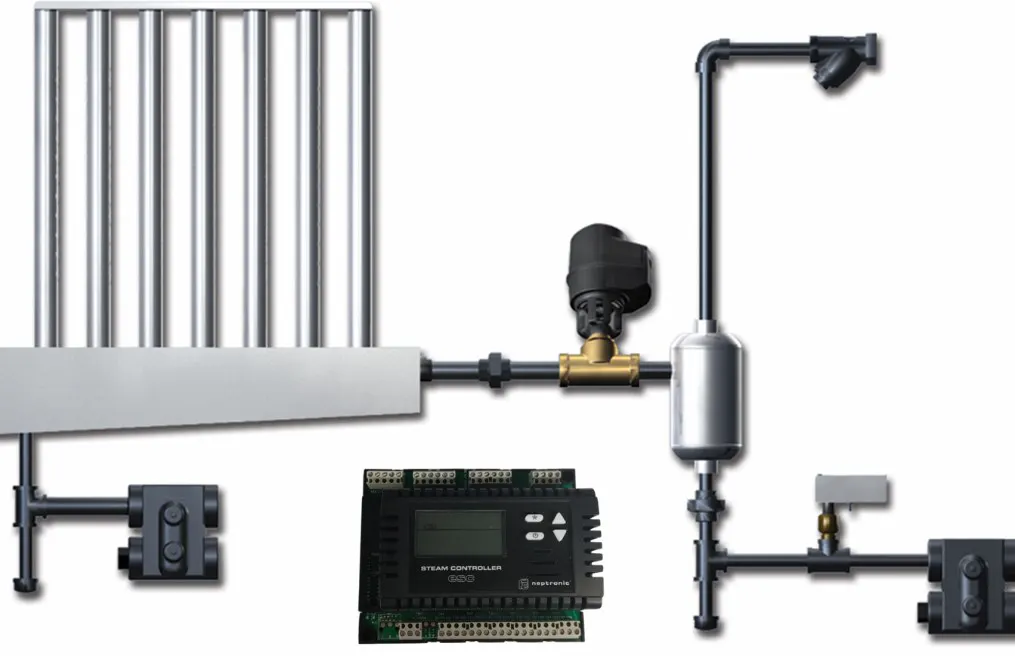
The steam line from device to distribution manifold is a critical performance element. Wrong material, slope, insulation or condensate drainage causes water build-up in the line, water hammer, capacity loss and uneven nozzle performance at the manifold.
Correct material: stainless steel (AISI 304 or 316), CPVC, or high-temp silicone hose (per device documentation). Length should be as short as possible (≤ 5 m total for flexible hose); slope at least 2% on descending sections and at least 15% on rising sections, full-length insulation, condensate trap at the low point.
| Item | Design Rule | If Wrong |
|---|---|---|
| Line length | As short as possible; flexible hose ≤ 5 m total (Neptronic) | More condensate in line, capacity loss |
| Slope | At least 2% on descending sections and at least 15% on rising sections; condensate returns to unit or trap (Neptronic) | Water build-up → water hammer |
| Insulation | Insulate rigid pipe runs (per manufacturer manual) | Condensation along line |
| Condensate trap | At low point, drain side | Manifold drips into duct |
| Material | Stainless / CPVC / silicone (per device) | PVC deformation, gasket leaks |
| Diameter | Per manufacturer table (flow-based) | Pressure drop, capacity loss |
Condensate Management
Condensate forming along the steam line collects at low points and must be drained. A condensate trap (T-fitting + siphon) sits at the low point; downstream of the trap, hot-water drain piping (not PVC; rated to 100 °C) is required.
Condensate is thermally disinfected (water passed through 100°C); however, during draining it cools and microbial growth can restart. The drain line therefore needs a sealed trap and must discharge to the sewer through an open air gap.
Drain Slope
The drain line slope enables flow by gravity; insufficient slope causes water build-up, odour and backflow. Minimum 2% slope is recommended (Neptronic installation manual: 6.5 mm per 300 mm). Minimise elbows; every elbow is pressure loss and a build-up risk.
Hot drain water can exceed PVC's glass-transition temperature (≈80 °C) and deform it. The Neptronic installation manual requires drain piping rated to 100 °C; during a power failure the drain cooler does not work either. Use stainless steel or plastic pipe rated for this temperature; drain pipe diameter must not be smaller than the device's drain port.
Manifold-Drain Link
Condensate inside a steam manifold (e.g. the SKD family) must be drained from the manifold base; otherwise water collects in the manifold and droplets are carried into the duct from the nozzle outlets. Correct design: drain port at the manifold base + hot-water-compatible line + air gap.
In facility-steam-fed systems (such as the SKD family), condensate volume can be high; drain sizing must follow device documentation. In hygienic sites, manifold + drain belong together in the annual cleaning protocol.
Pre-Design Checklist
The following 16-item checklist is a validation tool that takes little time at the design desk and markedly reduces on-site mistakes. The list can be used either as a brief for a new project or as an audit guide for an existing site.
| # | Check Item |
|---|---|
| 1 | Airflow (m³/h), design and simultaneity values |
| 2 | Fresh-air ratio (%), winter / summer delta profile |
| 3 | Target relative humidity (% RH) and tolerance band (±) |
| 4 | Indoor design temperature (°C), winter / summer |
| 5 | Water analysis (conductivity, hardness, TDS, chloride, silica, alkalinity) |
| 6 | Device type selection (steam / atomisation / evaporative) |
| 7 | Capacity calculation (kg/h), including 15–25% safety margin |
| 8 | Modulation range (turndown ratio) |
| 9 | Sensor point (room / duct / supply / process) |
| 10 | High-limit sensor location and setpoint (%) |
| 11 | Steam manifold location and nozzle pattern |
| 12 | Absorption distance (m), downstream obstruction check |
| 13 | Drain line (slope, air gap, material, siphon) |
| 14 | Maintenance access (front / side / top clearances) |
| 15 | BMS-automation integration (protocol, alarm points, trend log) |
| 16 | Commissioning + validation + sensor-calibration programme |
NKT Approach
NKT – Nem Kontrol Teknolojileri, the authorised Turkish distributor of the Neptronic product family, supplies the devices and provides technical support for device selection. Selection covers psychrometric capacity calculation, review of water-analysis results and correct technology matching.
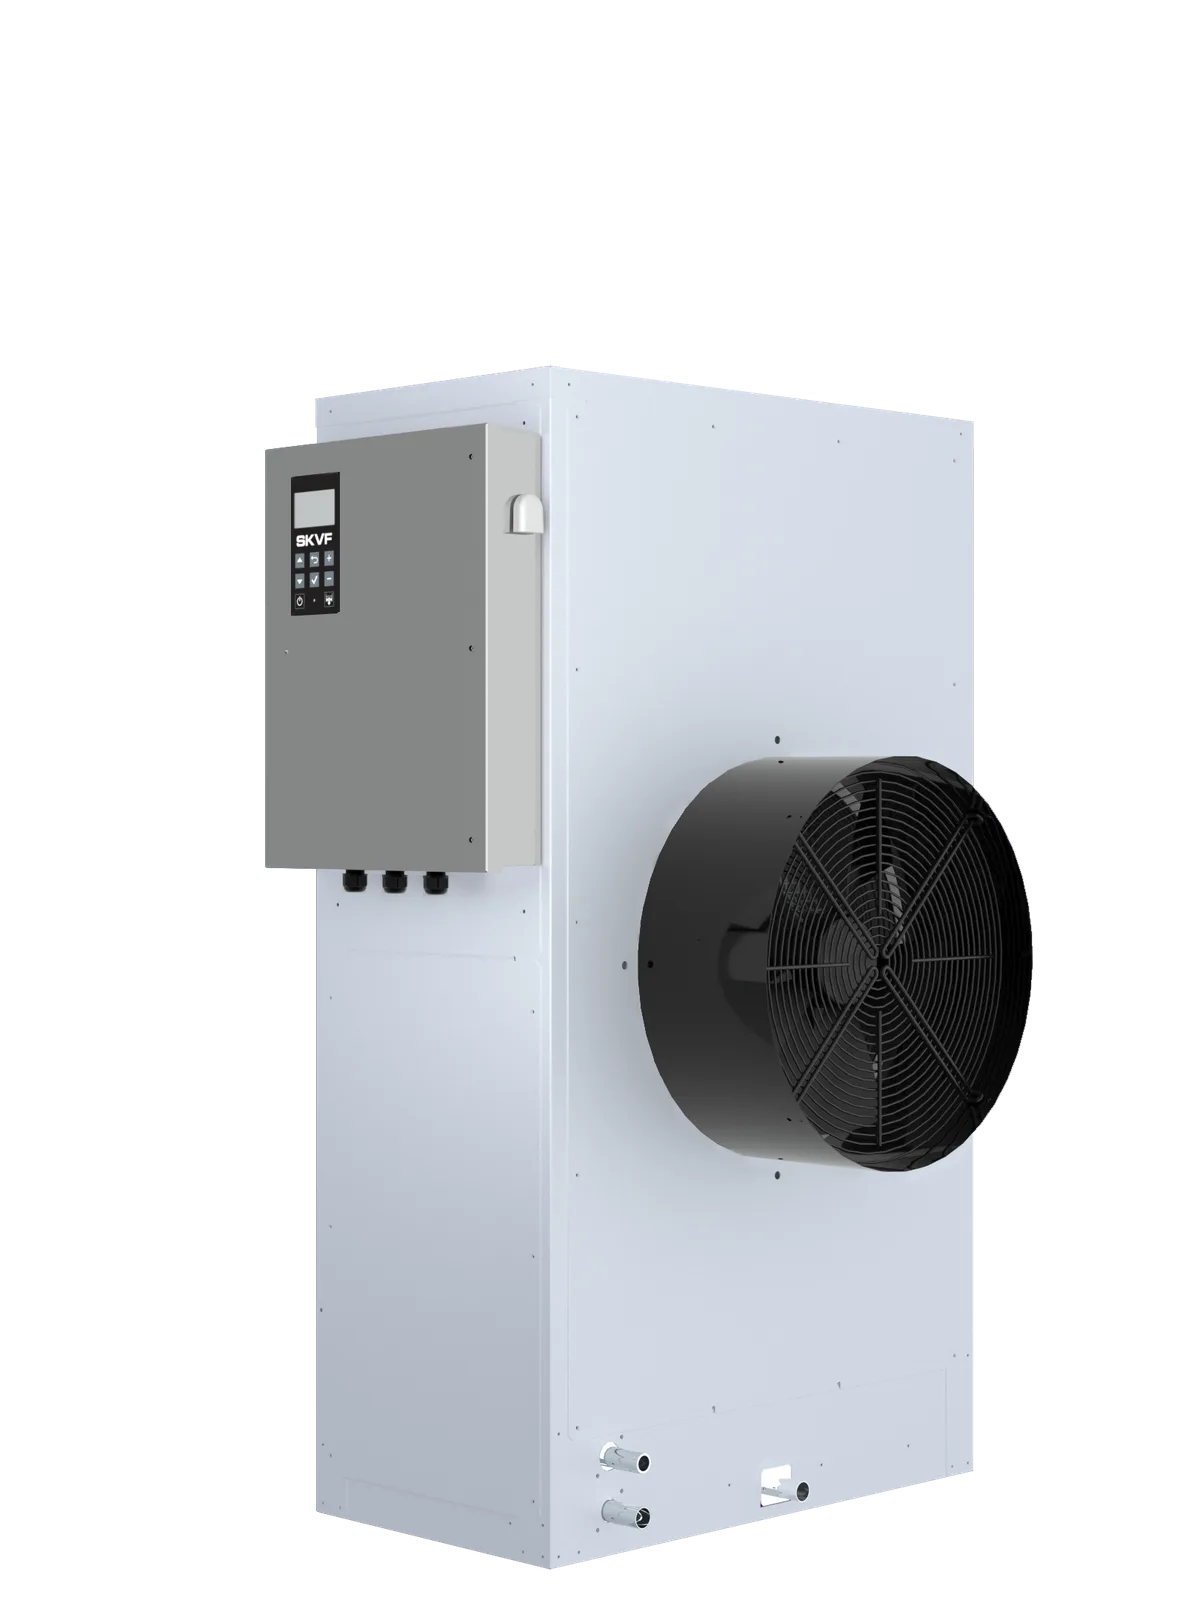
NKT's catalogue covers SKVF (evaporative cooler), SKH (high-pressure atomisation), SKV (evaporative humidifier) and SKD (direct steam injection); for resistive steam, the Neptronic SKE4 family (50 Hz, 5–120 kg/h) is offered. Many of the mistakes in this guide can be caught early by asking the right questions at the device selection stage.
Humidifier selection is a far wider engineering decision than a kg/h match. Sensor placement, PID control choice, absorption distance, drain design, water-treatment matching and BMS integration, these six axes determine long-term performance. The 10 mistakes in this guide are the most frequent post-commissioning issues; each is cheap to prevent at the design table and expensive to fix in the field.
The right device is the device chosen from the right technology family and supported by correct design decisions. Addressing these six axes at the start of the project minimises surprise service calls after commissioning; NKT provides technical support for these decisions at the device selection stage.